
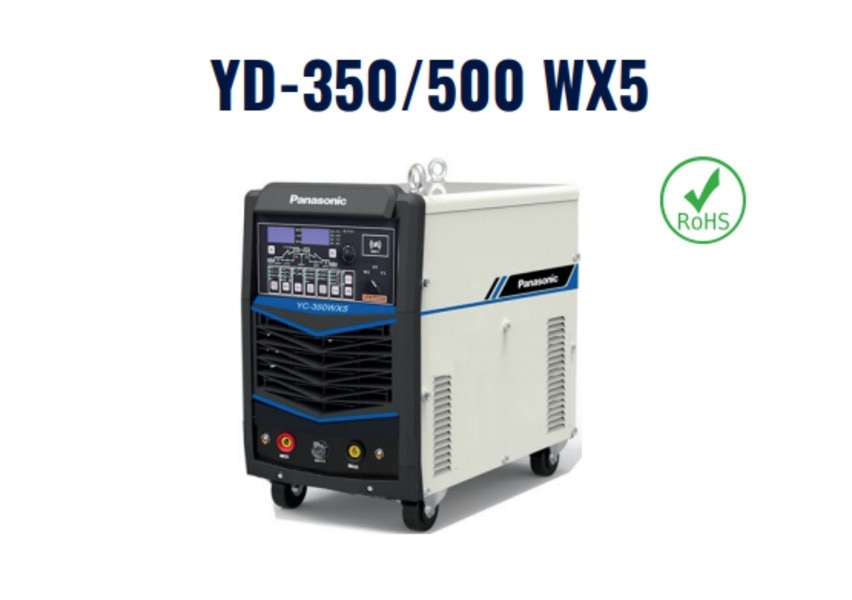
An unstable TIG arc is often caused by tungsten condition, shielding gas, work-return contact, torch geometry or control settings rather than a failed power source. Use a staged check to isolate those external causes first, then identify the signs that justify testing the machine’s electrical and electronic systems.
Key takeaways
- Regrind contaminated tungsten and check its stick-out, angle and cup.
- Confirm shielding gas reaches the cup without leaks, drafts or excessive flow.
- Verify polarity, work return, torch leads and machine connections before replacing parts.
- Compare start settings with the fault pattern before calling for power-source service.
Start with the tungsten, torch and arc geometry
A contaminated tungsten can create an unstable welding arc even when the TIG welding machine is working correctly. Steel, filler metal or oxide on the tip changes the emission point, causing the arc to wander, split or start erratically.
Remove the contaminated section and regrind to a clean, even point; replace the tungsten if contamination has reached the electrode repeatedly.
Before blaming the power source, isolate the electrode and torch:
- Fit a new, correct-diameter tungsten and inspect the grind. A blunt, uneven or transverse grind makes the arc wander; an undersized electrode overheats.
- Check that stick-out is not excessive and keep the torch angle steady. Hold a short arc, commonly 1–3 mm for manual joints; a longer arc spreads heat and shielding, making TIG arc problems worse.
- Tighten the collet and inspect the collet body, ceramic cup, gas lens and torch head. A loose collet, cracked cup or blocked gas lens disturbs shielding and arc direction.
- Test with a known-good torch lead and tungsten. If the unstable welding arc disappears, the replaced torch component—not the power source—caused the fault.
If the arc is stable at first and then drops out after sustained welding, check thermal protection, fan operation, duty-cycle limits and input supply before replacing torch parts.
If a correctly prepared tungsten, sound torch and short arc still produce instability from the first start, record the machine’s fault code and move to power-source and connection checks.
Prove that shielding gas is reaching the weld correctly
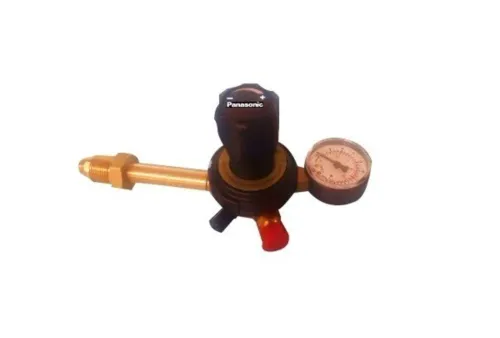
A regulator reading with the torch valve closed proves almost nothing about shielding at the weld. A restriction, damaged torch valve, blocked gas lens, loose fitting, failing solenoid, or nearly empty cylinder can reduce flow only while gas is moving.
Excessive flow causes turbulence, draws room air into the shield, and creates porosity or an erratic arc.
Check these gas-flow faults before blaming the power source:
- Leak-test the cylinder, regulator, hose, solenoid, fittings and torch with approved leak-detection fluid; bubbles identify a leak.
- Inspect the hose for kinks, crushed sections and heat damage, then check the cylinder pressure and regulator response.
- Remove and inspect the gas lens and cup; spatter or debris can obstruct the passages.
- Check for drafts from fans, doors or compressed-air lines. A correct flow cannot protect the puddle in moving air.
- Start around 7–14 L/min (15–30 CFH) for many manual GTAW jobs, then adjust for cup diameter, joint access, gas lens and torch position. More gas is not automatically better.
Use a flowmeter at the torch, not only the regulator:
| Check | What it proves | What a fault indicates |
|---|---|---|
| Gas off | No leak visible | Bubbles require repair |
| Gas flowing, torch open | Actual delivery at the torch | Low reading points to restriction, valve, hose or solenoid |
| Flow at the cup | Shielding reaching the weld zone | Uneven flow suggests blockage or turbulence |
| Stable flow during purge | Repeatable delivery | Pulsing indicates regulator or supply trouble |
This test is central to tig welding troubleshooting. It separates gas-related tig arc problems from a genuine electrical fault.
Check polarity, return current and machine connections
Wrong polarity or a broken return path can make a TIG welding machine look defective. DCEN is the normal setting for steel, stainless steel, nickel alloys, titanium and copper alloys; aluminium and magnesium normally require AC for oxide cleaning.
DCEP on DC work overheats the tungsten, while the wrong AC balance can make the arc wander.
- Confirm the torch lead is connected to the negative terminal for DCEN and the work-return lead to the positive terminal. Follow the machine’s polarity diagram rather than relying on cable colour.
- Remove paint, mill scale, rust and spatter where the return clamp grips. Clamp it to clean, conductive workpiece metal, not to a loose fixture or a painted table.
- Inspect the return cable, DINSE plug, terminal, cable lugs and torch connections for looseness, heat discolouration or damaged strands. A poor joint creates voltage drop and an intermittent current path.
- Match the return lead and work cable to the welding current and duty cycle. An undersized or overheated cable can produce an unstable welding arc even when the power source is healthy.
- Check polarity before changing gas settings. Wrong polarity will not be corrected by increasing flow.
A contaminated tungsten can also imitate an electrical fault, so retest after removing the contaminated section and regrinding it. If the arc still fluctuates with clean connections and correct polarity, watch for a machine fault code, output dropout or overheated connector rather than immediately replacing torch parts.
Separate welding settings and start behaviour from hardware failure
Disable every programmed change before judging the power source. Pre-flow, upslope, pulsing, crater fill, downslope and post-flow deliberately alter gas timing or welding current; a sudden change at a programmed transition is not a TIG power source fault.
- Set a steady amperage, zero pulse, and panel control with pre-flow and post-flow left at known values. If the arc stabilises, restore each function separately; the setting that recreates the fault identifies the problem.
- Disconnect the remote pedal or hand control and weld from the machine panel. A stable panel arc points to a faulty potentiometer, damaged remote cable, loose socket, or incorrect minimum/maximum-current setting.
- Test the start method separately. HF start needs a clean, correctly prepared tungsten, the specified small arc gap, sound HF leads, torch grounding, and low-interference work-area grounding. If HF fails but lift-arc starts reliably, investigate the HF circuit rather than the main output.
- Use lift-arc correctly: touch the tungsten to the work, initiate current, then withdraw it in a controlled movement. Expect repeated starts to fail if you use lift-arc as a non-contact HF start.
TIG welding troubleshooting should then compare behaviour cold and after sustained welding. Output that drops only after heating suggests thermal protection, duty-cycle limits, input-voltage loss, phase loss, or an undersized supply circuit; check the fault code, fan and measured supply voltage.
An arc that remains erratic with fixed settings and a known-good remote points toward TIG power source faults such as a relay, current-sensing circuit, inverter board, or output connection. Do not open the cover: hazardous DC-bus voltage can remain after shutdown.
Know when the TIG power source needs service
A service decision is justified when the arc remains unstable after you install a correctly sharpened, uncontaminated tungsten, confirm gas flow at the torch, and secure the work-return path. Do not open the inverter cover: hazardous DC-bus voltage can remain after shutdown.
Move from external TIG welding troubleshooting to qualified TIG power source testing when you see these patterns:
- The arc drops out, surges, or changes current with fixed settings, a steady torch, and no remote-control input.
- Output cuts off after several minutes, the fan does not run, or a thermal, over-temperature, input-voltage, or phase-loss code appears.
- The machine loses output on more than one torch and lead set after you verify polarity, connectors, and the work clamp.
- A contactor chatters, the output relay fails to engage, or current shown on the machine disagrees sharply with measured welding output.
- The arc starts erratically even after you temporarily disable pulsing, upslope, downslope, crater fill, remote control, and other programmed functions.
Record the fault code, input voltage, duty-cycle rating, fan behaviour, welding current, and exact time before dropout. A stable arc that collapses under heat points toward thermal protection, an overloaded supply circuit, or inverter control faults; instability from the first start points to a setup or control problem.
Weld Tech Corporation can use the machine model and serial number to help identify the correct Panasonic manual, torch parts, or replacement hardware before a qualified technician tests the power source.
Related product
Frequently asked questions
How can tungsten and torch geometry cause an unstable TIG arc?
Inspect the tungsten for steel, filler metal and oxide contamination. Regrind it, then check electrode stick-out, torch angle, cup condition and arc length.
How do I prove shielding gas is reaching the TIG weld?
Check the cylinder, regulator, hose, solenoid, fittings and torch for leaks or restrictions. Confirm gas flows at the torch and protect the weld from drafts.
Which polarity and connections should I check for TIG arc problems?
Verify the process polarity against the electrode and material, then inspect the torch lead, work lead, return clamp, plugs and cable connections for heat or looseness.
When does a TIG power source need service?
Seek service when correct tungsten, gas, polarity, connections and settings do not resolve the fault, or when the machine shows erratic starts, alarms, overheating or output changes.
Related products
 | ac/dc tig welding machine Full Digital AC/DC TIG Welding Machine A variety of waveforms ensures superior welding for aluminum and a wide range of metals. View product → |
 | TIG Welding machine Panasonic TIG Welding Machines Model Number 300 TSP Welding Type TIG Welding Voltage 415V, +10% (Input Voltage) Output Current Range 5-300 A Brand Panasonic Frequency 50-60 Hz... View product → |
 | TIG Welding machine IGBT Controlled DC Pulse TIG Welding Power Source Suitable for TIG/MMA Welding Stable current output even at 5 AMP Sheet thickness even 0.5mm weldable Pulse Frequency upto 500 Hz Digital Display of... View product → |